Showering After Surgery (Leg): 5 Easy Bathroom Upgrades for Safer Recovery
Introduction
5 Practical Bathroom Upgrades
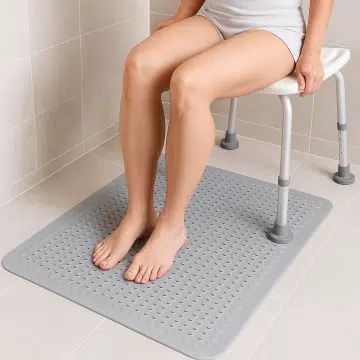
Non-slip mats and floor grips
- Coverage: Have a family member measure the full standing area, inside and just outside the shower, and choose a mat that fits.
- Design: Look for drainage holes or textured surfaces to stop pooling. Inside the shower, suction cups hold best; outside, pick quick-dry mats with rubber backing — and skip thin fabric mats, which slide too easily.
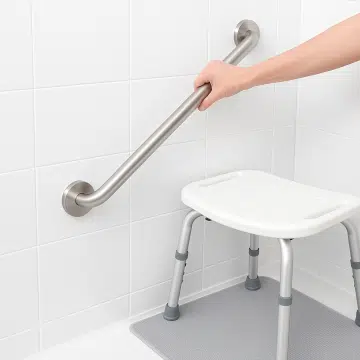
2. Grab bars
- Placement: Install bars where support is most needed — beside the shower chair and at the spot where you push yourself up. A diagonal bar works best, letting you pull and push in one motion.
- Check strength: Choose bars with clear weight ratings and test them firmly after installation. Skip suction-cup types for anything beyond light use.
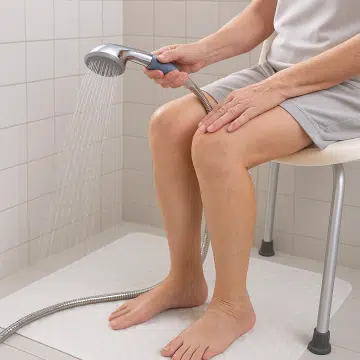
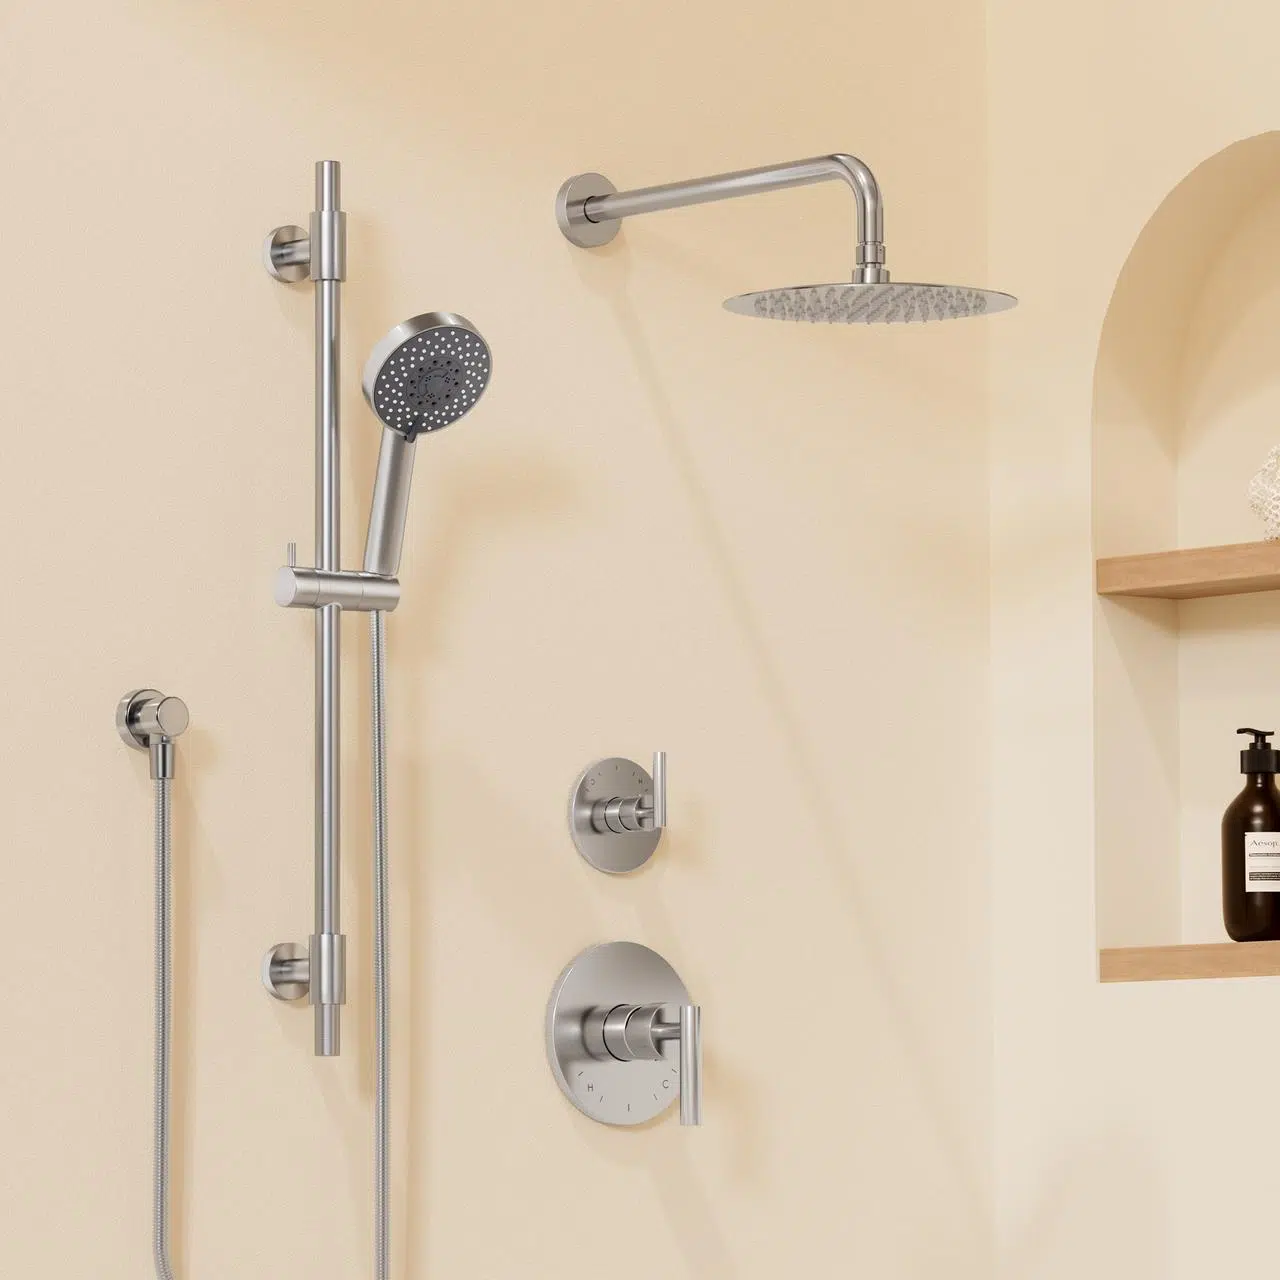
3. Handheld Shower head with longer hose
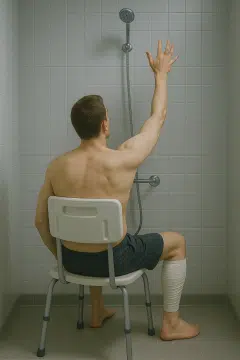
- Why it’s essential: If you only have an overhead shower, add a handheld one so you can direct the spray while seated — staying warm and rinsing fully without getting up.
- Hose length: Choose at least 1.5–2 m (≈5–6.5 ft). Have a family member measure the distance from the outlet to your seat to be sure it’s long enough.
- Grip & control: Pick a lightweight showerhead with a rubberized handle, or add a silicone sleeve/anti-slip tape for a secure hold.
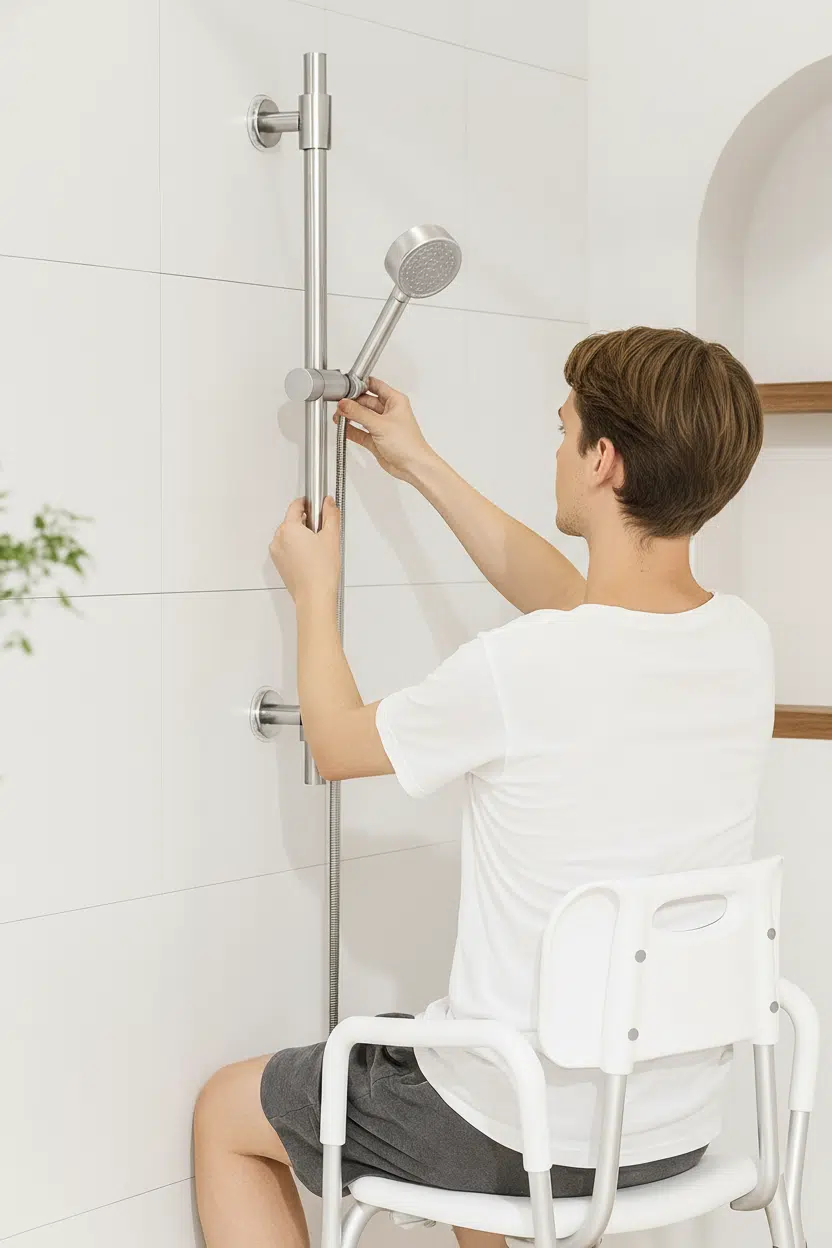
4. Adjustable Shower height - featuring a slide bar
- Why it’s essential: Fixed holders sit too high, making you twist or stand to rinse. A slide bar lets you place the showerhead at a safe seated height in seconds. It also works for other family members — just remind them to slide it back down after use.
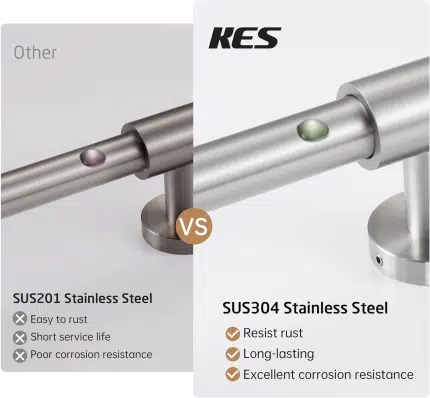
- Focus on reliability: It won’t carry your weight, but it must hold firm when adjusting. Look for 304 stainless steel and a smooth one-hand slider. For no-drill types, check adhesive strength and reviews to ensure long-term hold.
5. Safe and smart storage
- Placement: Install shelves at seated arm height for easy reach.
- Design: Use no-drill adhesive or corner shelves with drainage holes. Add hooks for towels or sponges to keep the floor clear.
- Avoid: Keep heavy bottles off high ledges and never leave items on the floor.
Two Key Factors When Choosing a Slide Bar
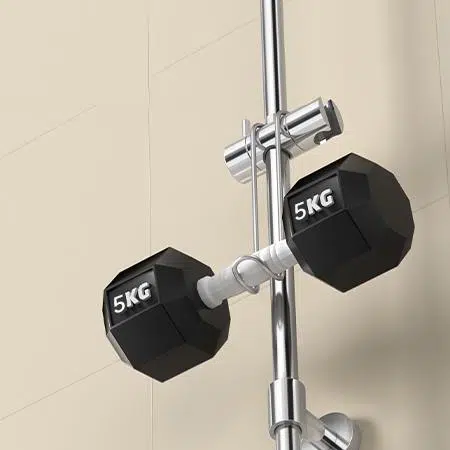
1. Stability
2. Durability
Conclusion
stay tuned
Subscribe now to receive the latest advice on DIY projects
Frequently asked questions
How can I shower safely after leg or knee surgery?
Four upgrades cover most of the risk: non-slip mats inside and just outside the shower, a sturdy grab bar anchored to studs, a shower chair or bench, and a handheld shower head so you can wash while seated without standing under a fixed spray.
Is a towel bar strong enough to use as a grab bar during recovery?
No. A towel bar is rated for towels, not body weight; leaning on one during recovery is how falls happen. Use a proper grab bar anchored into wall studs or solid blocking, rated to hold an adult’s full weight.
Why is a handheld shower head recommended after surgery?
It lets you bring the water to you while seated, so you never have to stand on a wet floor or reach up to a fixed head. Pair it with a long hose and a slide bar for adjustable height.
Where should grab bars go for shower recovery?
Where you actually transfer weight: one vertical bar at the shower entry for stepping in, and one horizontal or angled bar within reach of the seat. Anchor into studs; per accessibility guidance, grab bars should hold at least 250 pounds.
Further reading
Further reading: how to add a handheld shower head and why a towel bar is never a grab bar.